How We Got to NAO!!1! (Part 2) – Pseudomé Studio Animation History
After completing II:Prologue, we realized that the scope of the project was just too massive for a couple of guys to complete. It was a cool endeavor and we learned a great deal. But making people wait 4-5 years between installments would be just a wee bit ridiculous. So what to do?
Well, we wanted to continue to produce animation. We figured we’d go with something simpler for a follow-up project. Something that was basically just a one-off. And that took the form of Mehka.
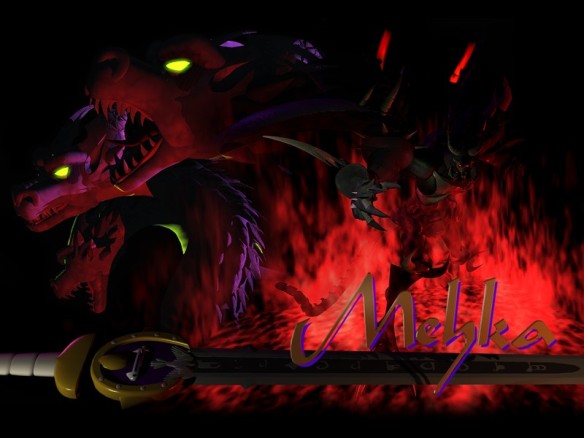
The story of Mehka was very simple: a man forced to fight off the wrath of the Gods, while trying to maintain a simple life with his loved one. In fact, the story was so simple, there wasn’t going to be any dialog. We were going to attempt to convey everything through actions, body language, etc.
That meant that we were going to need to push Ray Dream to its limits. In fact, Mehka was also designed as a sort of “last hurrah” for Ray Dream. We wanted to see just how far we could push it. As such, we invested in third party plugins like Bone Bender, Furrific and inverse kinematics. Similarly, we stepped up our texturing to UV mapping, which allowed us to make much more accurate, detailed bit maps which were going to be necessary for our more complex models.
Some of our early results were impressive (by Ray Dream standards). However, by pushing the software to its limits, it threatened to tear itself apart.
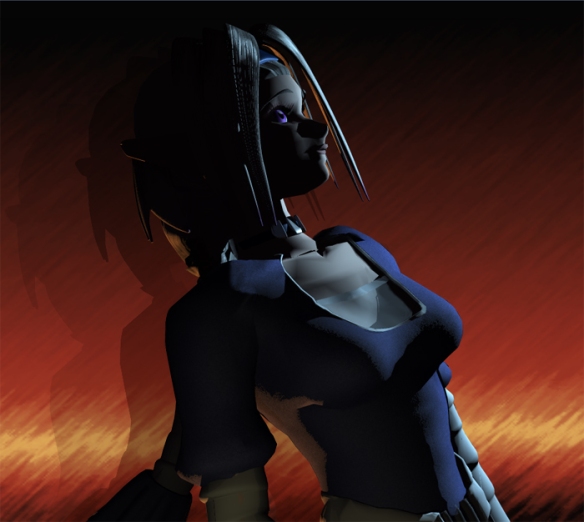
For example, here are two pictures of “Mehka” herself. They look pretty similar at first glance. But the first one is full of rendering anomalies that we just had a heck of a time getting rid of.
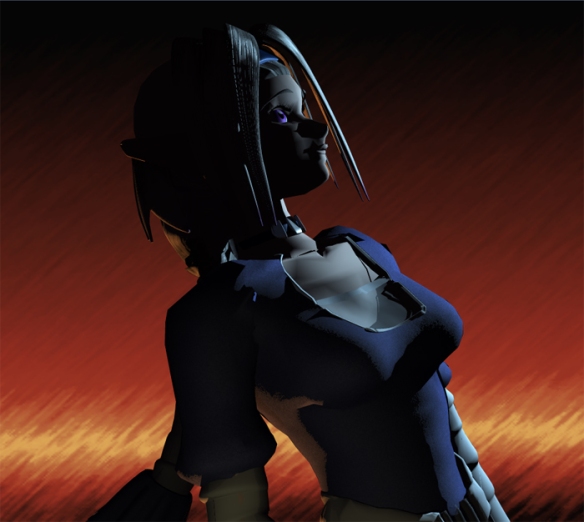
And this second one is after we ran it through Photoshop to clean it up and ‘Pretty-fi” it. If you look around her arms and chest, you’ll notice the biggest change.
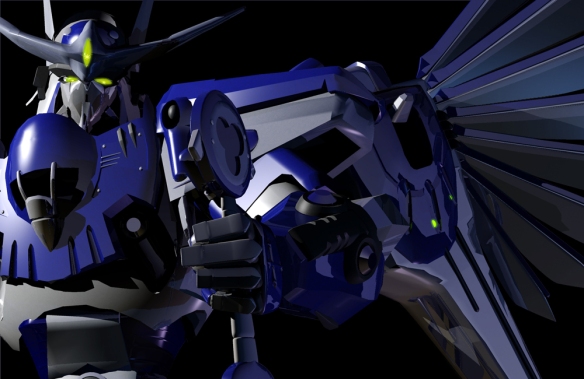
Throughout our testing, the third party plugins, which did give us a lot more flexibility, tended to yield bizarre results. For example, below is a test render from the “champion mech”. During some renders, the inverse kinematics would freak out and would yield crazy arm or leg motions. Other times, it would work just fine.
And then there was the UV mapping. It worked. It worked quite nicely. Except when the meshes moved. Basically, the UV map would maintain its position in 3D space. And as the mesh moved, it looked like the model was moving through the stationary texture map. This wasn’t a huge problem for the mechs, which were still primarily constructed from interlocking piece-parts. But organic items, like our hydra or people just wouldn’t work properly.
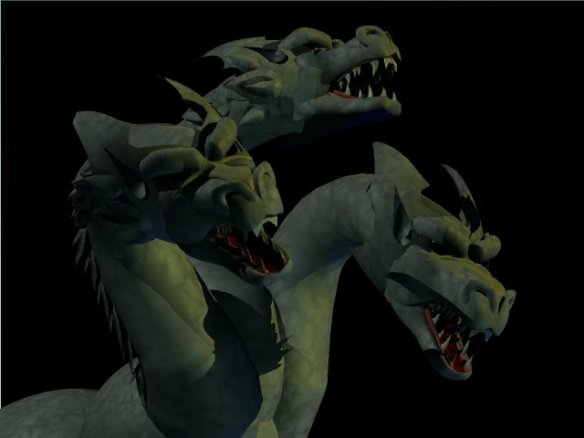
In the end, there were simply too many issues to allow the project to get out of the testing phase and it needed to be abandoned. Which, it was.
The last of the great animation projects
We still wanted to work on another animation project. But what could we do which was simple and quick enough to yield reasonable results? After a while of hemming and hawing, we met with a “webcasting” company who wanted to produce some original content. Initially, they wanted us to film ourselves in live action as we talked about animation and such.
However, we saw this as an opportunity to use animation as a means of talking about animation, comics, etc.
At this time, Flash animation was all the rage. But, we still had Ray Dream as our go-to animation program. Obviously with Mehka, we learned that we couldn’t do anything very advanced. But what if we could combine some hand-drawn animation with the tools of Ray Dream?
We ended up with THE Show. A sort of variety talk show that centered around the creation of comics and animation. You can actually check out the first two episode below.
As it turns out, this pre-dates YouTube by a couple years. And not unlike YouTube, this webcasting company had a system in place for “meta data”. In terms that mattered to us, the viewer program that they employed allowed us to embed informational slides or other content next to the video which we could call up at specific time codes. It gave us the ability to insert extra information or even correct information after the video was already published—again, not unlike YouTube of today.
We had a third episode lined up, but there wasn’t any more interest from the webcasting company. And prior to YouTube, we had no reasonable means of disseminating or popularizing THE Show. So, that got shelved and we moved onto comics. Webcomics, actually. But that’s a topic for How We Got to NAO!!1! (part 3)
How We Got to NAO!!1! (Part 1) – Pseudomé Studio Animation History
Studded amongst many of our blog posts, you’ll find a common phrase that we use to describe some of the choices we’ve made for Errant Heart. And that phrase will typically start with: “Because of our background in animation and comics…”.
The “comics” part of that phrase is simple enough to corroborate. All one has to do is take a look at the Van Von Hunter webcomic, or the print books (although, I think most of the remaining copies have been since shredded and used as filler in cheap cereal bars). Or a more succinct option would simply be to browse the VVH Wikipedia entry.
But what about the “animation” part of that phrase? Well, that’s a little more complicated. You see, we’ve done what I consider an admirable job of scrubbing references of our animation exploits from the web. Oh, they’re still there. But they’re just difficult to find. Basically, unless you know what you’re looking for, you’ll never stumble across it.
Why? Well, I think like most artists, we simply can’t stand our earlier work. It’s a constant reminder of our lack of skill. That’s not to say that we didn’t learn from the experience. Quite the contrary. But we feel the past is best left in the past. Live in the now, as they say.
However, we thought it would be best to provide some carefully curated information that does corroborate our background in animation. So where to start? At the beginning, of course. Which means we need to speak about our first animation project. Indeed, it was the first artistic project that we worked on together, the first project which we showed to the public and which spawned Pseudomé Studio itself— II:Prologue.
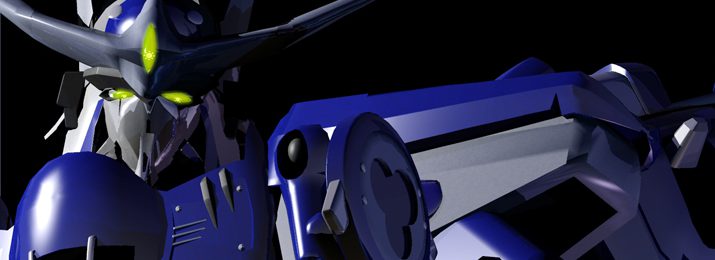
I won’t go into too many details. But in short, back in the late 90’s, we were newbie, doe-eyed anime fans who wanted to create our own anime series. Over the course of a couple of years, we collected enough ideas to spawn a title which we simply called “II” (Two). II:Prologue was our attempt at creating an animated short of that universe.
Creating hand-drawn animation was just too time-intensive for our purposes. So we settled on 3D animation. After all, 3D has the advantage of maximum re-usability. Once a character model is done, it’s done. No need to keep redrawing over and over and over. No need to worry about consistency—it’ll always look the same in every shot.
So what to use for 3D animation? Well, we needed an all-in-one solution. Something that could allow us to model and animate. And it needed to be cheap. There were a few options out there, like Infini-D. But we settled on Ray Dream Studio (which, ironically was later merged with Infini-D to create Carrara).
It had a pretty basic extrusion modeler. Which means that while it was easy to make piece-parts, it was difficult to make large, complex meshes. In fact, strictly speaking, it DIDN’T create meshes. Once you created a piece part, it needed to be attached to another piece part, and so on and so forth.
For example, if you wanted to build an arm, first you would model the upper arm. Then the lower arm. Then the hand. Then the first digit of the thumb. Then the second digit of the thumb. Then the third digit of the thumb, etc. Once all the piece parts were built and assembled, certain ranges of motion needed to be locked in.

Sure, all these parts would intersect each other—thus making for a somewhat crude appearance. But at least with proper ranges of motion locked in, an arm would be able to move like an arm. BUT, remember, this is cheap, low end software we’re talking about. Ray Dream did not have any sort of Inverse Kinematics (it did at the very end with third-party plugins). Using our arm as an example, if we wanted to animate it reaching out and gripping a cup, we would need to animate the arm much like a traditional animator would do with claymation or stop-motion animation. We’d need to select a point on our timeline (say, a half a second in), and move the upper arm a certain amount. Then, move the lower arm a certain amount, all the way down to EVERY SINGLE DIGIT OF EVERY FINGER.
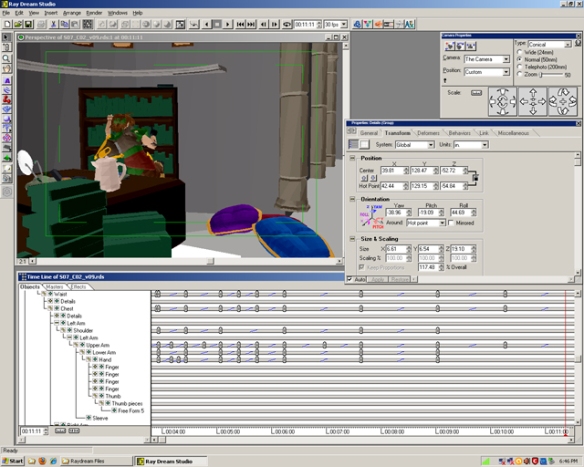
As you may be able to imagine, while 3D models did offer us maximum re-usability, it was still an incredibly tedious affair, as far as the animation itself goes.
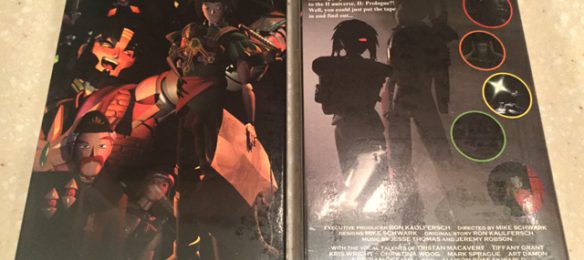
And the end result? Well, we did manage to produce about 18 minutes worth of footage. And it was complete with voice acting, sound effects, music, etc. Heck, we even managed to work with a reproduction company and had VHS tapes, with printed sleeves made (and shrink-wrap: the hallmark of all official merchandise).
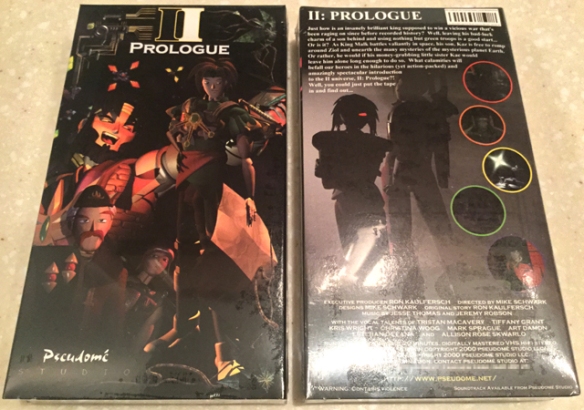
Was it any good? Eh…I won’t say one way or the other. However, there are a few reviews of II:Prologue out there.
Perhaps the most authoritative review was penned in the print magazine, Animerica (anyone remember that?)
So, after saying all of this, I imagine you probably have a mild curiosity about what the end result looked like, huh? Well, not much footage survives to this day. At least, not footage that is easily posted on the web. AND, keep in mind that this was created quite a long time ago. Due to computing constraints, and the limitations of NTSC standard definition resolution, we had to render the footage in some seriously low res. What does still exist is our trailer, as well as one full scene.
The trailer was obviously created to be as eye-catching as possible. But frankly, I like the full scene example. It’s actually a very “simple” scene, with just two characters talking. But by the time we animated this section, we had learned a great deal about the craft—ways of making sure the 3D characters continue to move ever-so-slightly, even while sitting still in order to keep them looking “alive”, changing up the shot composition, using occasional special effects, etc.
Anyway, we had a couple more animation projects after II:Prologue. But, we’ll save those for “Part 2” in our How We Got To NAO!!1! series.

